Create your first project
Use this tutorial when you are starting from the Projects dashboard and want to create the first project from a source video. The example screenshots use a gaming video source, but the same flow works for uploads, YouTube videos, public Google Drive video files, and Twitch VODs.
- Click New project from Projects, then choose Auto Clipping.
- Upload a video file or import a YouTube, Google Drive, or Twitch video to create the project source.
- Open Auto Clipping from the project, review the setup steps, and click Generate Clips when you are ready to spend credits.
Before you start
A project starts with one source video. You can create the project from a file upload, a YouTube video, a public Google Drive video file, or a Twitch VOD.
Generating clips uses credits based on the amount of source video processed. You can upload and review the setup first, then submit the run only when the estimate and settings look right.
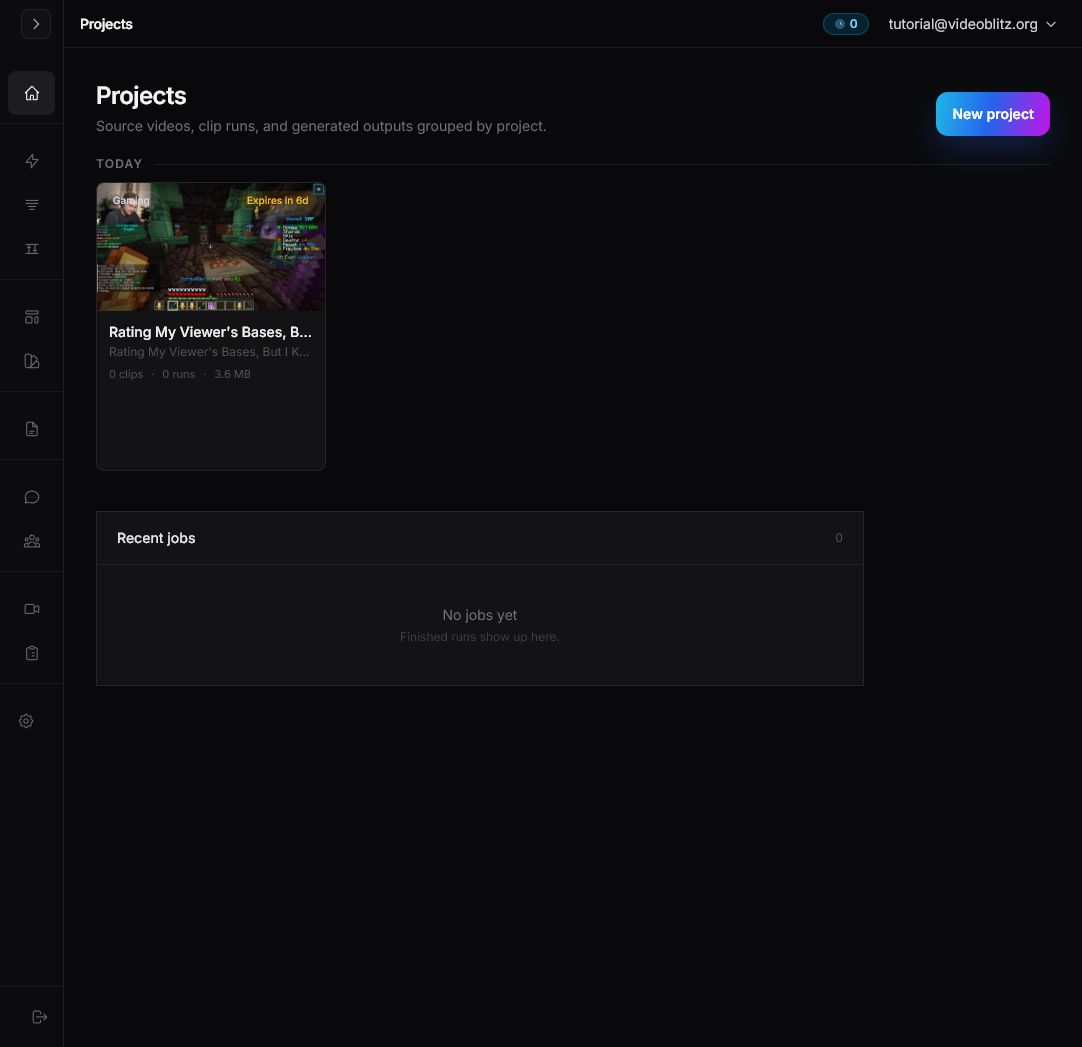
Step 1: Click New project
From Projects, click New project in the top-right corner.
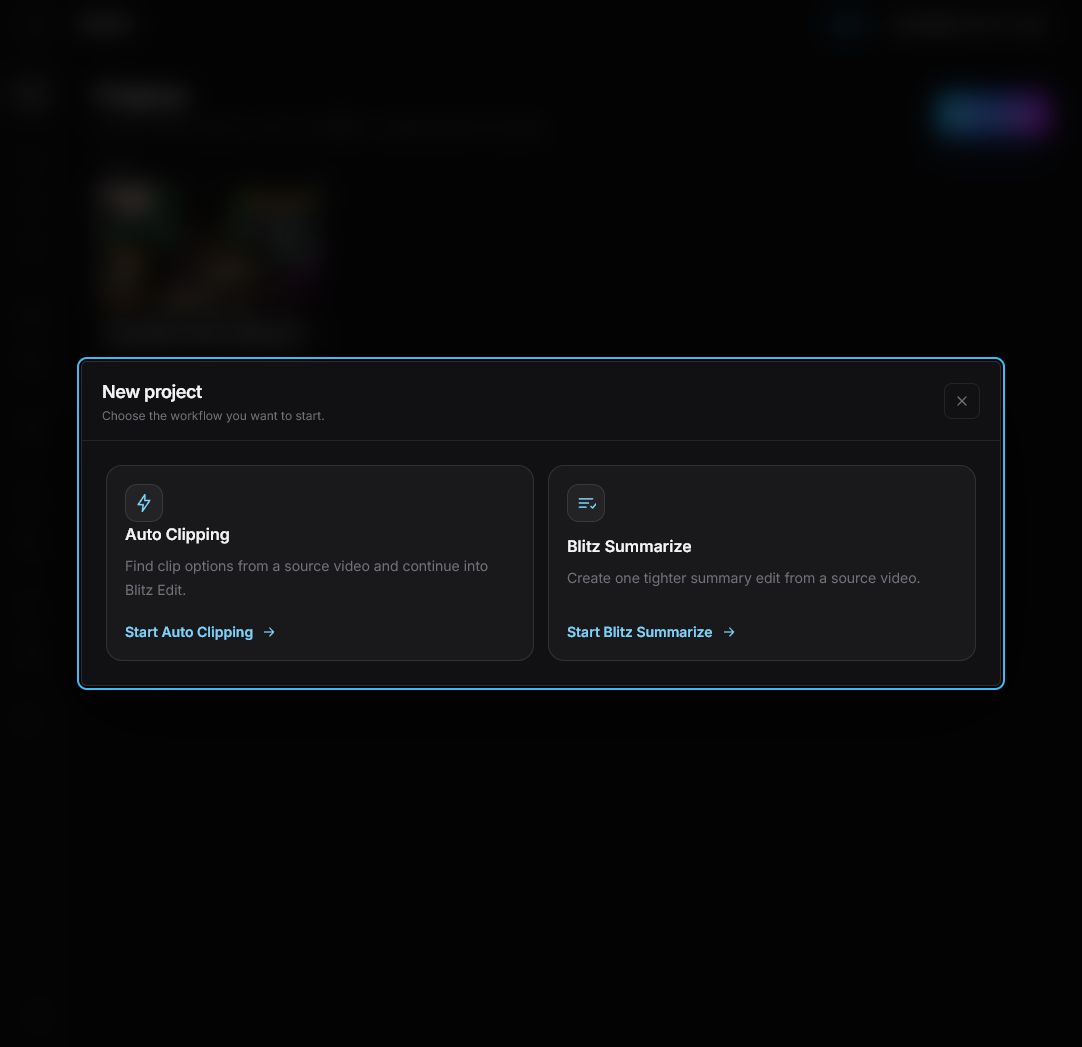
Step 2: Choose Auto Clipping
In the New project dialog, click Start Auto Clipping. This opens the source upload step for a clip-generation project.
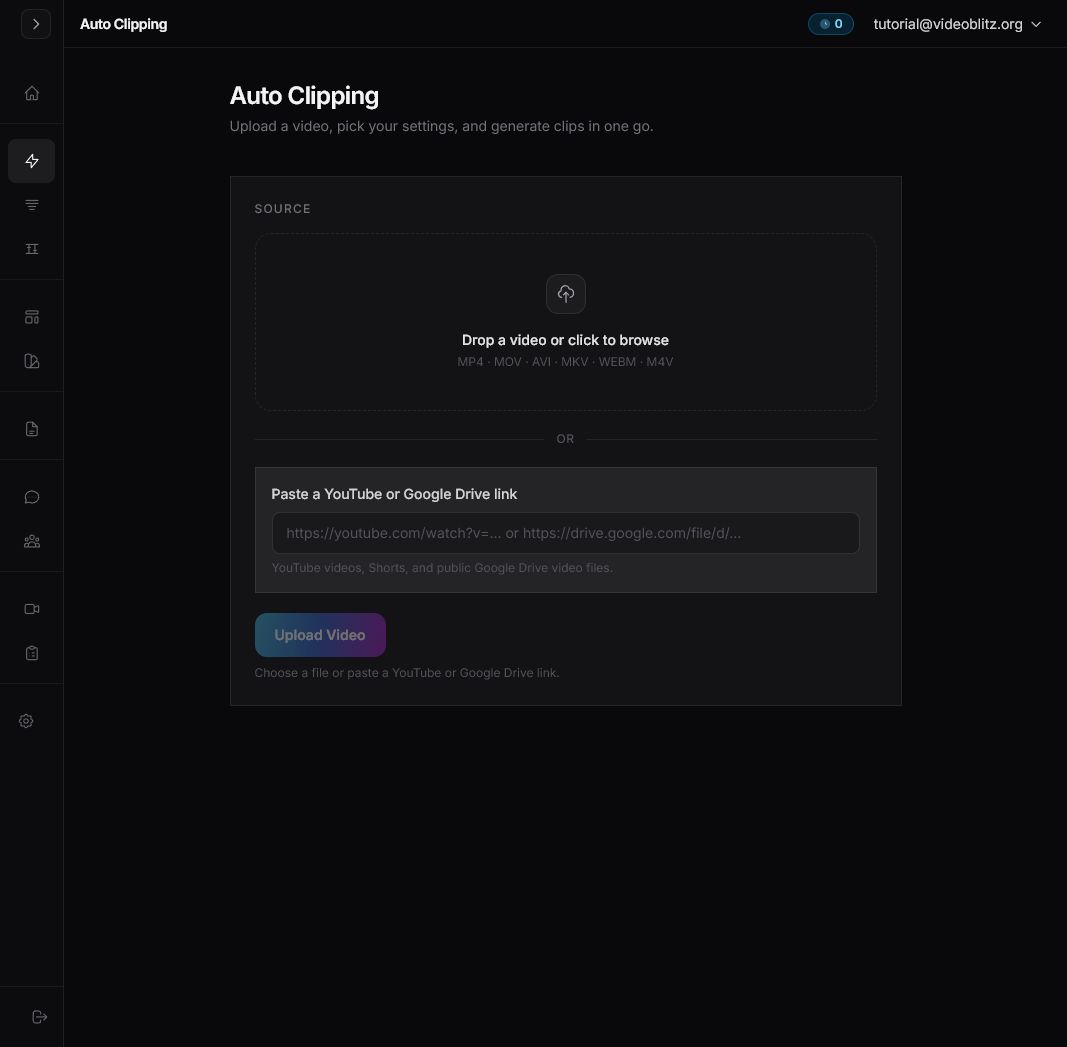
Step 3: Upload or import the video
Drop a video on the upload area or click the upload area to browse for a file. You can also paste a YouTube, public Google Drive, or Twitch video link.
After the source finishes uploading or importing, Videoblitz saves it as the project source. The screenshots in this guide use a gaming video file named Rating My Viewer's Bases, But I Keep Getting Trolled.
Step 4: Open the project
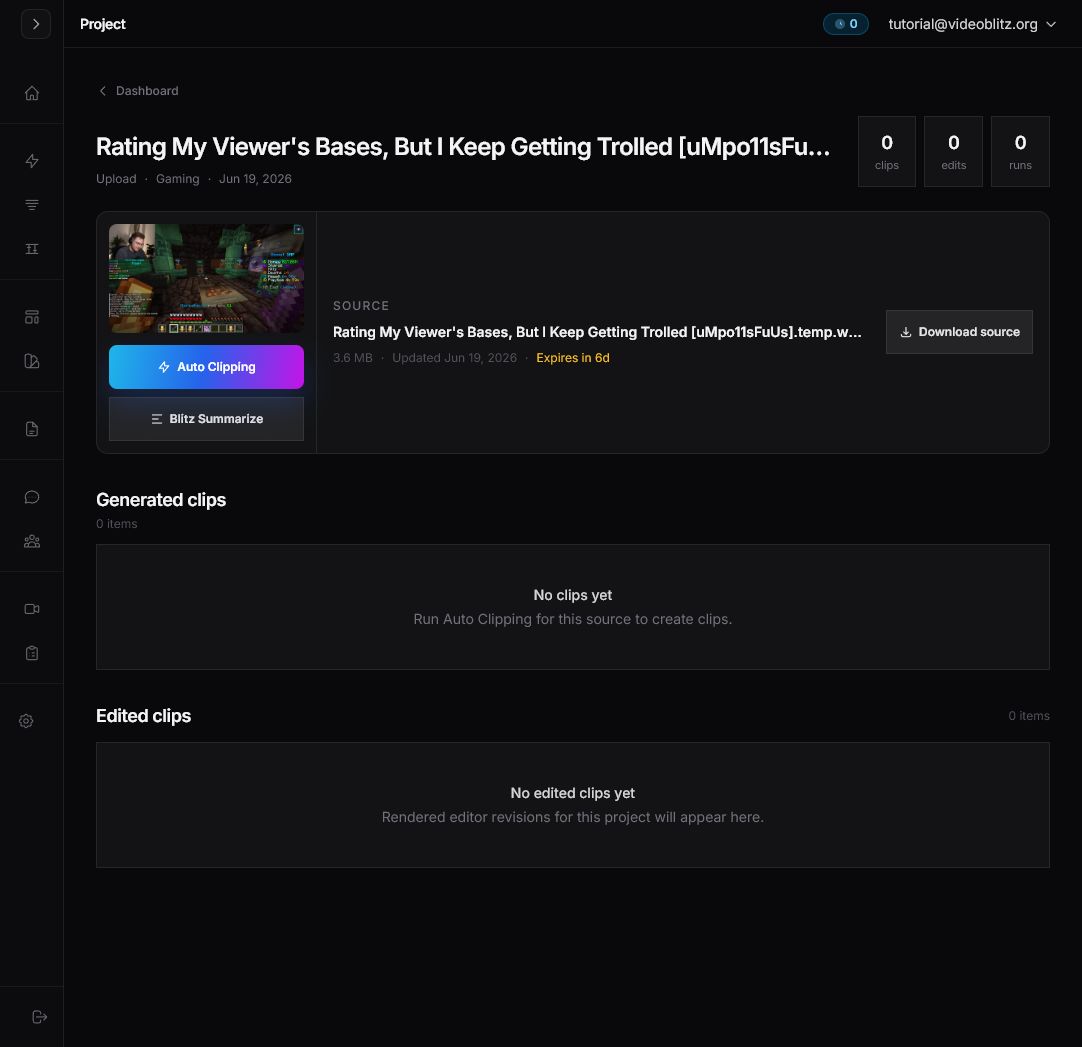
The project page shows the saved source video, source download action, and empty clip sections. Click Auto Clipping on the source panel to start a run from this project.
Step 5: Confirm the source and category
Auto Clipping opens with the selected source at the top. Choose the category that best describes the video, then click Next.

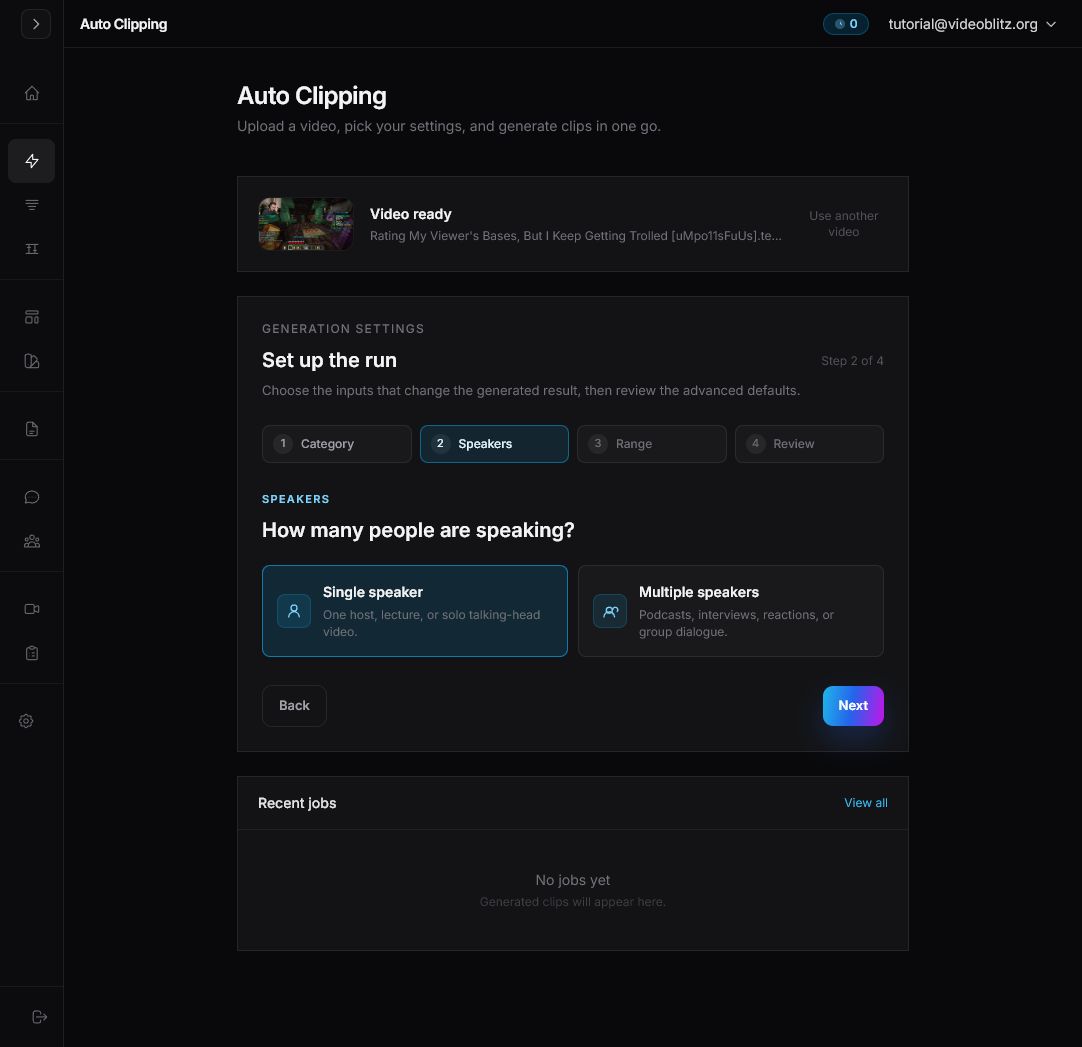
Step 6: Choose speaker setup
Choose Single speaker or Multiple speakers based on the source video. This helps Videoblitz prepare the clipping run for the kind of dialogue in the video.
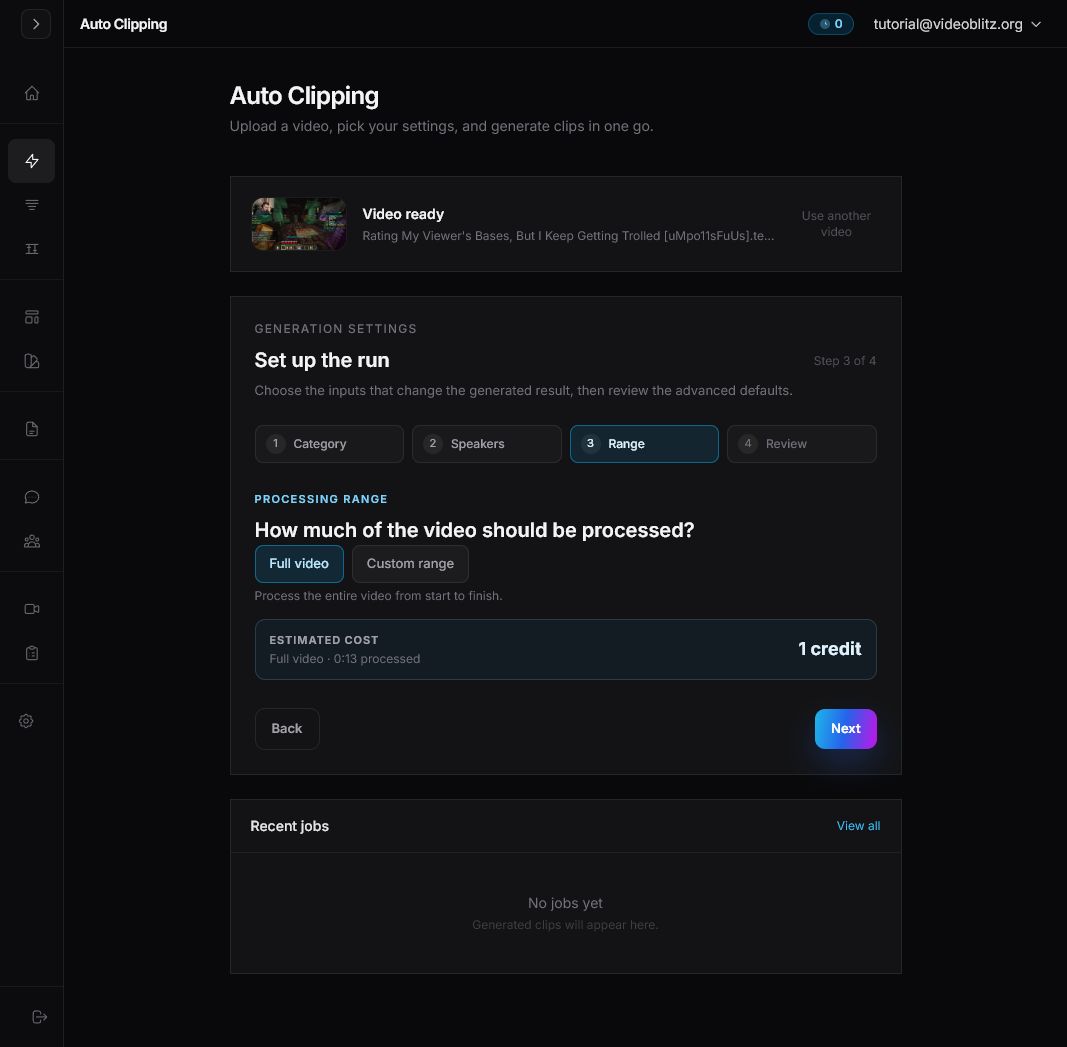
Step 7: Choose the processing range
Use Full video when the whole source should be considered. Use Custom range when you only want clips from a specific part of the video.
Check the estimated cost before continuing. Short sources have a one-credit minimum.
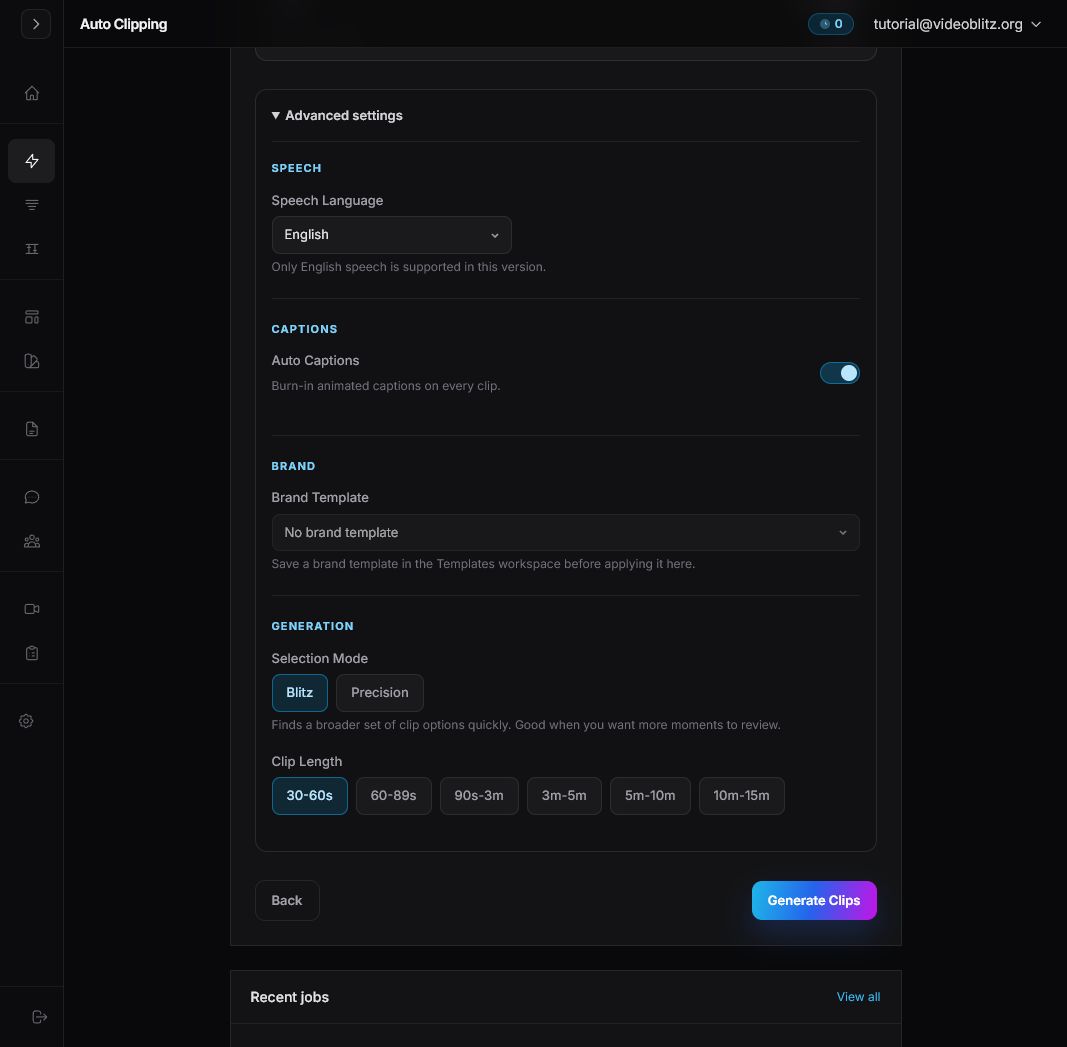
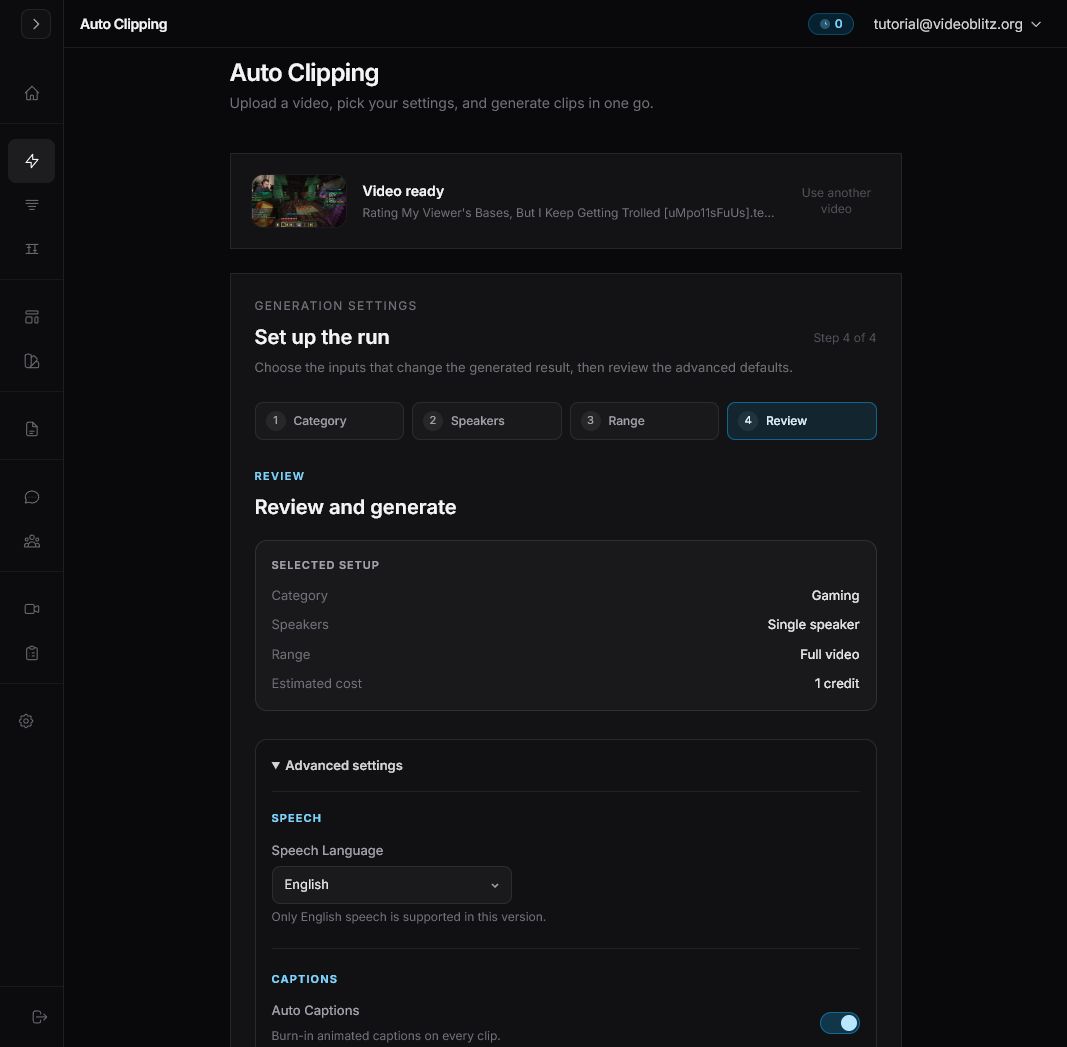
Step 8: Review the run
Review the selected setup before submitting. Open Advanced settings if you need to change speech language, captions, brand template, selection mode, or clip length.
Step 9: Click Generate Clips
When the settings and credit estimate are correct, click Generate Clips. Videoblitz creates a job and the generated clip options appear in the project when the run finishes.
If your credit balance is too low, add credits first and return to this review step before submitting.